

How To Add Unhollowerbaselib To Unity Explorer
January 18, 2025
How To Calculate Imr Cost By Normalized Instance Hours
January 19, 2025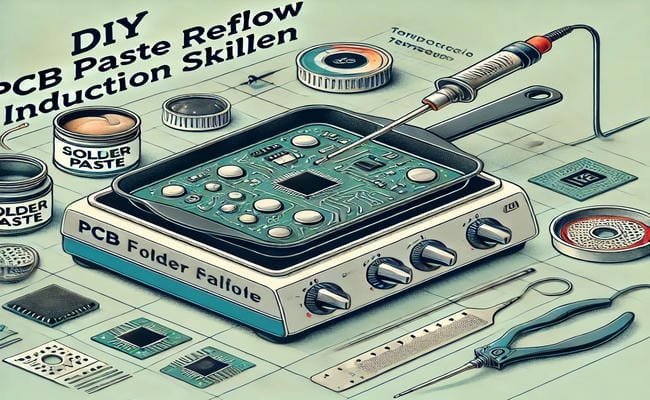
Building your own PCB paste reflow induction skillet is an efficient way to reflow solder on custom PCBs. This guide provides a step-by-step approach to assembling and utilizing this DIY setup.
Why Build a PCB Paste Reflow Induction Skillet?
- Cost-Effective: Save money compared to commercial reflow ovens.
- Customizable: Tailor the skillet to suit your specific project needs.
- Compact Design: Create a portable solution for small-scale PCB production.
Steps to Assemble a PCB Paste Reflow Induction Skillet
- Gather Required Materials:
- Induction-ready skillet or pan.
- Induction cooktop with precise temperature control.
- Thermocouple or infrared thermometer for temperature monitoring.
- Heat-resistant mat or platform.
- Solder paste and PCB stencils.
- Prepare the Skillet:
- Choose a flat, induction-compatible skillet to ensure even heat distribution.
- Clean the surface to remove debris or residue.
- Set Up the Induction Cooktop:
- Place the cooktop on a stable surface.
- Connect the cooktop to a power source and ensure it is functional.
- Position the Thermocouple:
- Attach the thermocouple to the skillet to monitor temperature accurately.
- Use thermal adhesive or clamps to secure it in place.
- Calibrate Temperature Settings:
- Set the cooktop to the desired reflow temperature (typically 230°C for lead-free solder).
- Monitor the temperature using the thermocouple or thermometer.
- Apply Solder Paste to PCB:
- Use a stencil to apply solder paste accurately onto the PCB pads.
- Place components onto the PCB, aligning them with the paste.
- Reflow the PCB:
- Place the PCB on the skillet and heat it gradually.
- Observe the solder paste as it melts and solidifies, indicating a successful reflow process.
- Cool and Inspect:
- Turn off the cooktop and allow the PCB to cool naturally.
- Inspect the solder joints for consistency and rework any imperfections.
Tips for a Successful Build
- Ensure Even Heating: Use a skillet with a thick, flat base for uniform heat distribution.
- Monitor Closely: Keep a close eye on temperature fluctuations to avoid overheating.
- Practice Safety: Use heat-resistant gloves and work in a well-ventilated area.
Troubleshooting Common Issues
- Uneven Heating:
- Check the skillet’s flatness and reposition the PCB if needed.
- Adjust the cooktop’s temperature settings for consistency.
- Overheating Components:
- Reduce the temperature or heating duration.
- Use a smaller skillet for better control.
- Cold Solder Joints:
- Ensure the solder paste is applied evenly.
- Maintain the correct reflow temperature throughout the process.
Also Read: How To Align Fusion Body With Canvas When Rendering
Conclusion
Assembling your own PCB paste reflow induction skillet is a practical and affordable solution for electronics enthusiasts. By following these steps and tips, you can create high-quality PCBs with a reliable and portable setup.